How It Works
The Jinba Copilot uses natural language processing to understand your requirements and automatically generates the appropriate flow structure. Simply describe what you want to accomplish, and the copilot will:- Suggest appropriate tools and configurations
- Create the necessary manifest structure
- Help you set up API keys and credentials
- Guide you through the process step by step
Step-by-Step Process
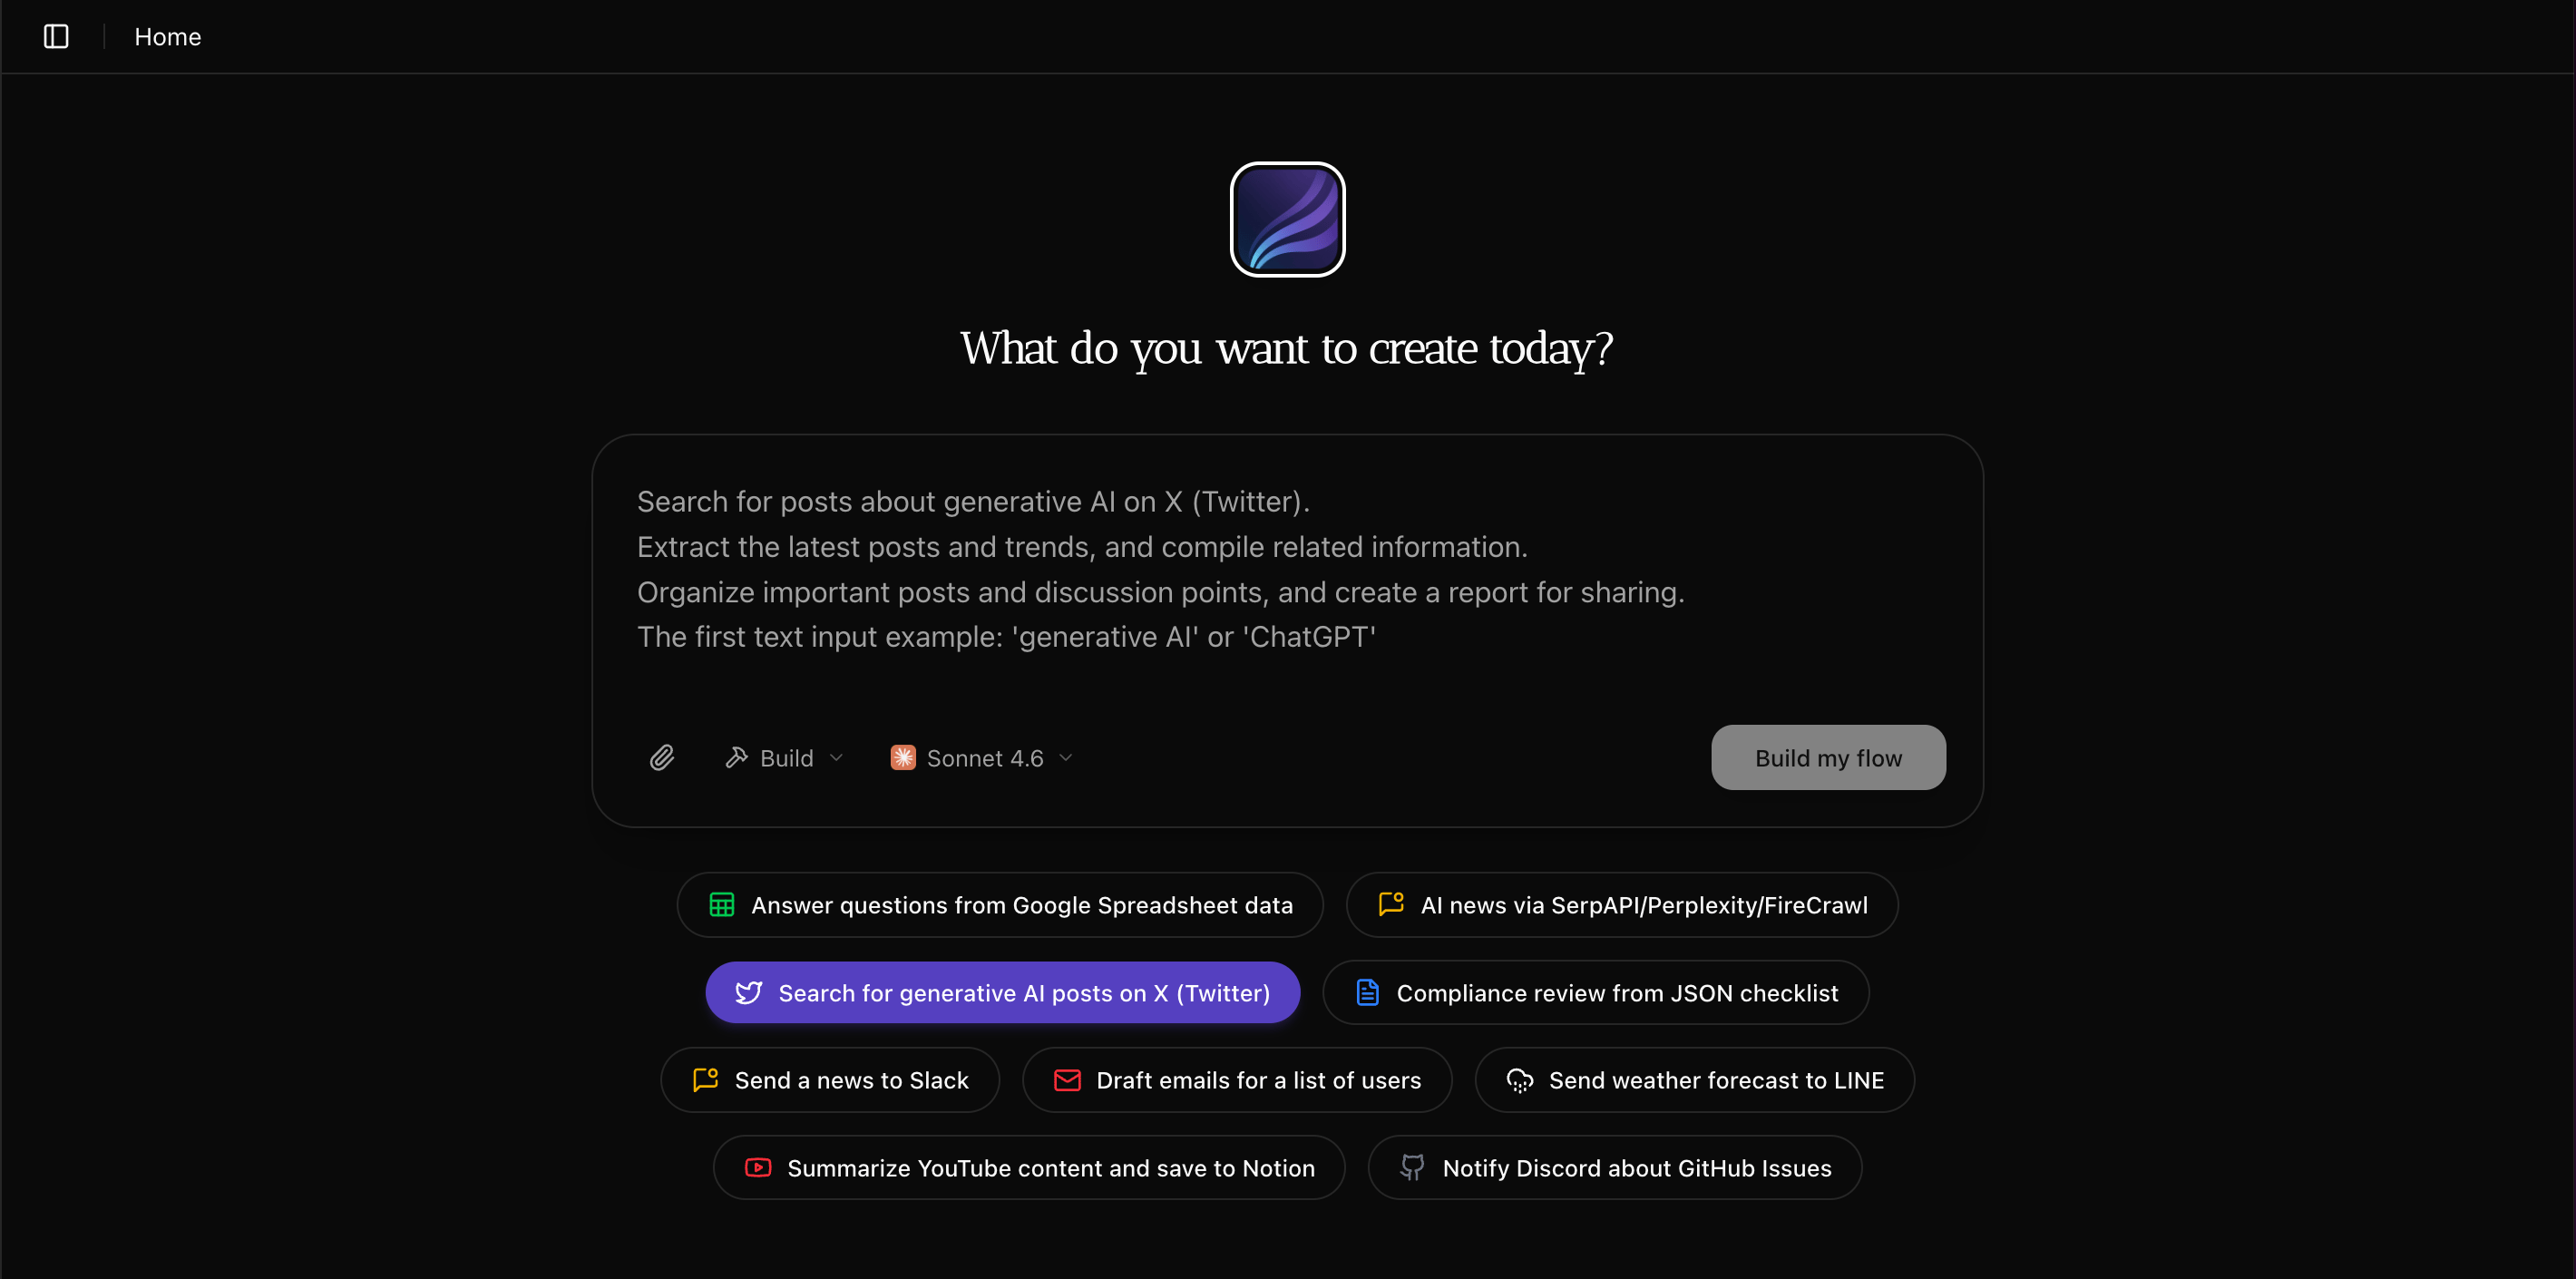
1. Generate Your Workflow
Jinba Flow uses AI to generate workflows from scratch. Simply:- Go to the chat input screen on the main page
- Enter your requirements in natural language
- The AI will automatically start generating your workflow
2. Review and Accept Changes
When the workflow generation is complete, you’ll see a screen asking you to accept the changes. Click “Accept Changes” to proceed.3. Configure Details
Once the workflow is generated, you can:- Click on each module to access detailed settings
- Modify content, email addresses, or other parameters
- Select your Google account (if you set up OAuth in step 1)
4. Execute Your Workflow
After configuring the details:- Click the “Execute” button in the top right
- The system will automatically process your workflow
- Results will appear in the bottom right corner
5. View Results
Once execution is complete, you can see the actual results. For example, if you created a Gmail draft, you’ll find the email saved in your Gmail drafts folder.Getting Started
- Open the chat interface in your Jinba Flow editor
- Describe your workflow in natural language
- Follow the copilot’s suggestions and prompts
- Review and refine the generated flow
- Test and iterate as needed